When it comes to closing cloth diapers, I much prefer snaps for their longevity and baby-proof clasp. However, some people love the ease and speed of diaper changes with Velcro closures. Squirmy babies usually don't want to hang around for snaps to be connected. Unfortunately, with months of use, Velcro "hooks" inevitably no longer stick to the "loops," and the diaper is hard to keep closed (especially with curious baby hands that would love to rip the whole thing off!).
When the Velcro goes bad, some parents throw up their hands and toss the diaper in the garbage. But, with basic sewing skills, and this tutorial, you can replace worn Velcro with little cost or hassle.
 |
| When Velcro starts to fray like this, it's only a matter of time before it won't hold. |
The first step to replacing Velcro is to get the old stuff off. Use a seam ripper (or an X-Acto knife, like me!) to carefully cut the threads that bind the Velcro to your diaper cover.
 |
| The inside threads are easier to snip when you start your seam ripping |
I find the seam ripping process much easier when I cut the threads on the opposite side of the Velcro first (the fluff tends to hide the stitches pretty well). Once you snip that first thread, you can gently tug the Velcro away from the fabric and cut the exposed threads. Keep snipping until you reach the edge of the diaper.
 |
| Carefully cut the threads that anchor down the bias tape to release the Velcro |
When you reach the bias tape (white edging), you will find that the Velcro is tucked inside. You need to seam rip the thread sewn through the bias tape to release the old Velcro. If you flip the Velcro "inside out" (see pictures above), you should be able to expose some threads for snipping. Later, the new Velcro ends will be hidden away under this same bias tape.
 |
| Keep seam ripping until the front inside flap is completely free. |
Once the Velcro strip is free, you need to turn your flip cover over. If the front inside flap is still tacked inside the bias tape, you have a little more seam ripping to do. The flap needs to be completely free in order to sew your new Velcro strip on.
For detailed instructions on seam ripping your front Velcro wings and laundry tabs, I already covered it in my
Velcro to Snaps Tutorial. Check it out!
 |
| New Velcro pieces |
Velcro comes in all shapes and sizes. Most cloth diapers have Velcro that is 1.5 inches wide. You should look for "sew-on" Velcro that is described as "soft." It will most likely come in two rolls, one of the "hook" tape, and one of the "loop" tape. Use your worn Velcro pieces as a guide for cutting your new Velcro (but purposely cut your long front strip an extra half inch or so - it's so annoying when the fabric shifts a little during sewing and you end up short!).
 |
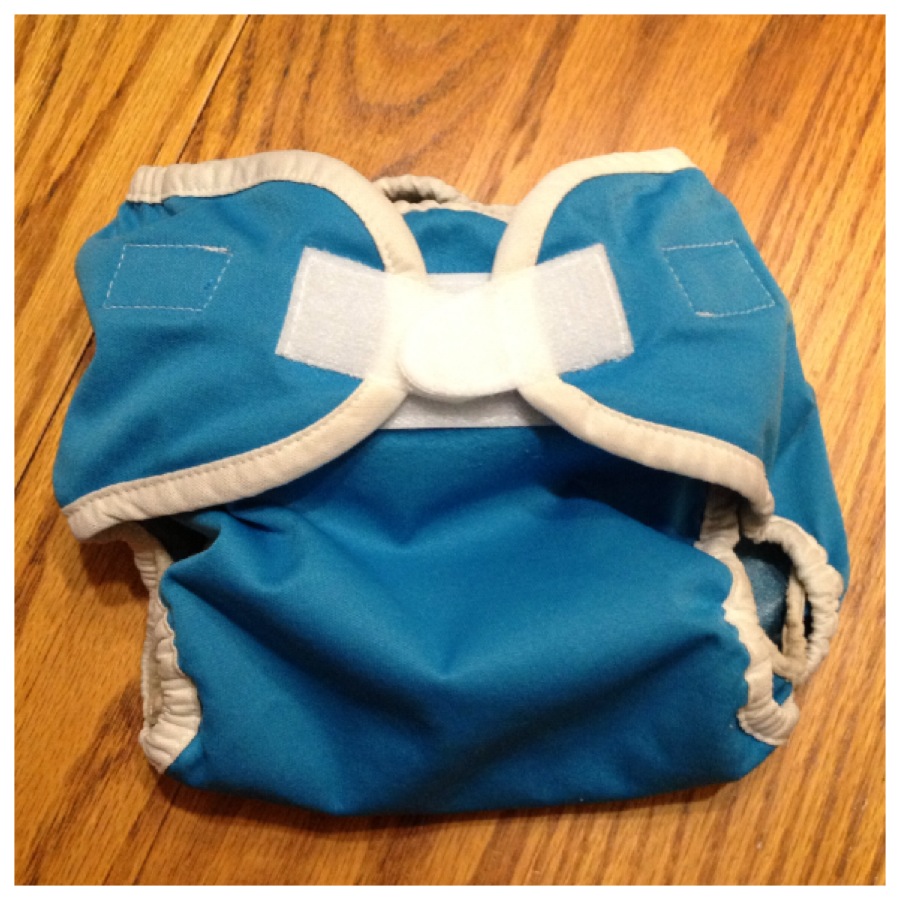
| All set, and ready to sew... |
I like to pin my Velcro in place before I sew since PUL fabric is a little difficult to work with. Make sure you tuck the bias tape behind the sewing machine needle AND that the front inside flap is folded out of the way before you begin sewing.
 |
| Go slow...it's easy to make a simple mistake if you go too fast. |
Slowly follow the edge of your Velcro strip as you sew, taking the pins out along the way. Try to prevent the PUL fabric from stretching underneath the Velcro as you sew. When you reach the end, be careful not to sew through your bias tape; hold it out of the way. If you have any Velcro hanging off the end, trim it.
 |
| Front Velcro strip compete! |
Repeat the same procedure on the opposite edge of your Velcro.
 |
| Reattach the bias tape |
Next, sandwich the new Velcro inside the bias tape. Sew a seam through both sides of the bias tape with the cover tucked inside. If you can't seem to line up all the layers at once, sew two seams along the edge of the bias tape (one on the inside, one on the outside).
 |
| Laundry tabs are easy compared to the front strip! |
Now for the laundry tabs. Simply place your new tab over the tab's stitching holes, and sew all away around the edges.
 |
| Prep your front Velcro "wings" |
As for the little front Velcro "wings," you need to do a little prep before sewing them to your diaper. Place your "hook" and "loop" sides back-to-back, and sew a little arch on the end of the tab. This arch should not extend more than halfway down the tab.
Now you can sandwich the side wings of your cover inside the arched tab. Sew a rectangle, following the edge of the diaper on one side, and the edge of the Velcro on the other three sides.
Your diaper cover will now function as good as new once again! Don't throw away a perfectly good diaper that is so easy to repair...breathe new life into your diaper with some fresh Velcro!

Thanks, this is a big help. I need to replace my Velcro. Great tutorial and great pictures!
ReplyDelete